
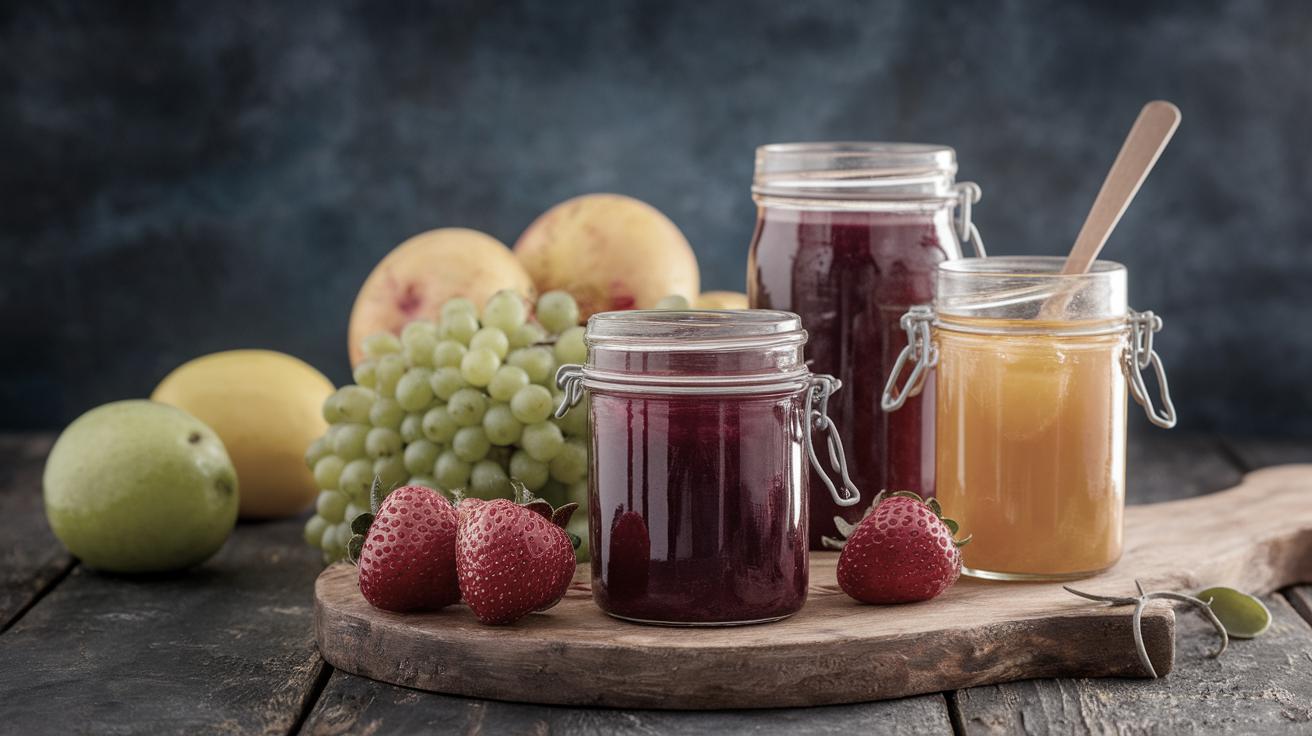
How to Make Preserves to Lock in Flavors
Creating homemade preserves is not just an art; it’s a way to capture the essence of seasons and enjoy fresh flavors year-round. This comprehensive guide will walk you through the joys of jam making, distinguishing among jams, jellies, and marmalades, preparing fruits, and essential techniques to ensure success. With step-by-step instructions, we’ll cover everything from the equipment you’ll need to varying ingredients and storage methods. Whether you’re a seasoned pro or a beginner, this article will help you expand your culinary repertoire, offering practical insights, answering common questions, and even suggesting delicious recipes to try. Let’s dive into the world of homemade jams, where creativity meets tradition.
Why You’ll Love Making Your Own Jam
Preserves the Fresh Flavors of the Seasons
Home-cooked jam is an indulgence that encapsulates the fresh, vibrant flavors of the season. Whether it’s strawberries in spring or plump peaches in the heart of summer, homemade jam allows you to savor the taste long after the leaves turn brown and the snow begins to fall. Making your own preserves provides control over what goes into the jar, ensuring that only the finest ingredients are employed, ultimately resulting in a product that’s both delicious and natural.
Moreover, the act of preserving is a ritual that connects us to the rhythm of the seasons. It’s about transforming the abundance of fresh produce into something that can be enjoyed during the off-season, making each spoonful a delightful reminder of sunnier days.
Easy and Versatile
When it comes to versatility, homemade jams are unmatched. Not only is the process straightforward enough for beginners to master, but it also allows for limitless creativity. You can experiment with various fruit combinations, add spices for a unique twist, or even incorporate herbs for a more robust flavor profile.
The beauty of jam is its adaptability. Spread it on toast, layer it in cakes, or swirl it into yogurt–the possibilities are endless. Such versatility means you can adapt recipes based on your preferences, dietary needs, or whatever ingredients are in season or available to you.
Long Shelf Life
One of the most appealing aspects of homemade preserves is their longevity. When properly canned, jams can sit on your pantry shelf for up to a year, letting you enjoy fruit at its peak flavor anytime you like. This long shelf life makes jams a practical choice for home cooks who want to make the most of the seasonal bounty.
Economically, this trait translates to fewer trips to the grocery store and less food waste, as you can take advantage of bulk fruit purchases. Securely sealed and stored under the right conditions, your homemade jams will be a staple in your kitchen throughout the year.
Difference Between Jams, Jellies, Preserves and Marmalades
The world of fruit spreads is delightfully diverse, with options like jams, jellies, preserves, and marmalades catering to different tastes and textures. Jams are typically made with crushed or chopped fruit, giving them a thick consistency that still retains pieces of the fruit. Jellies, on the other hand, are smoother as they use fruit juice instead of the flesh. This results in a clear, firm spread that’s ideal for those who prefer a smooth texture without the presence of seeds or pulp.
Preserves are close relatives of jams but contain larger chunks of fruit or whole fruits suspended in a gelled syrup. Their heartiness makes them perfect for those who enjoy more substantial bites of fruit in their spreads. Similarly, marmalades are often made with citrus fruits and include both juice and rind, offering a slightly bitter contrast to the sweetness of the jelly. This diversity in preserves ensures that there’s always a perfect match for every taste preference and occasion.
Preparing Fruit for Jam
Preparation is a critical step in ensuring that your jam-making process goes smoothly. Start by selecting the ripest, most flavorful fruits possible. Overly ripe or bruised fruit may have higher levels of pectin but can compromise the taste, so balance is key. Washing and properly cutting the fruit is crucial; any debris or pesticides present can affect the flavor and safety of your preserves.
Once cleaned, fruits need to be adequately cut to ensure consistent cooking. Smaller fruits like berries can remain whole, while larger fruits such as peaches or apples should be peeled, cored, and chopped. Texture is essential in the outcome, so keep the fruit pieces uniform to ensure an even cook. This careful preparation stage ensures that the flavors are clean and your end product will be delightful.
Basic Ingredients
The essential ingredients for making jams are simple, yet their quality is paramount. Fruit takes center stage and can be fresh, frozen, or even dried in some cases. Sugar is indispensable, acting not only as a preserving agent but also enhancing the fruit’s natural sweetness.
Lemon juice is often added for both flavor and its natural pectin content, assisting in the gelling process. Pectin, a natural thickening agent found in fruit, is available commercially to help tricky fruits achieve the desired texture. These basic ingredients form the foundation of any good jam recipe, with variations driving the creativity in flavor.
Basic Instructions
Clean and Sterilize the Jars
Before beginning the jam-making process, it’s essential to clean and sterilize your jars, making them ready to receive the cooked product. This can be done either by boiling the jars in water or using a dishwasher with a sterilizing setting. Ensure that lids are new and undamaged, as a good seal is crucial for preserving.
Once sterilized, keep the jars hot while you prepare your jam to avoid thermal shock when the hot mixture is added. This step guards against contamination and ensures that your preserves can be stored safely for an extended period.
Prep the Fruit
To begin, prepare your fruit by washing, peeling, and cutting where necessary. Discard any spoiled pieces. This meticulous step ensures that you’re getting the best flavor and texture from your chosen produce.
Depending on the fruit, you may wish to mash it for jams or leave it in chunks for preserves. Consistency is key, and ensuring uniformity in your fruit pieces will yield the best results when cooked.
Cook the Fruit and Lemon Juice
Place the prepared fruit in a large pot and add lemon juice, which enhances both flavor and helps promote gelling. Cooking the fruit slowly is crucial to draw out the juices without burning.
Simmer the mixture and use a spoon to stir occasionally, ensuring that the fruit starts to break down and release natural liquids. This stage is the beginning of intensifying the flavors.
Add the Pectin
If using commercial pectin, follow the instructions specific to your product. Generally, pectin should be mixed with part of the sugar before being added to prevent clumping as it dissolves into the fruit mixture.
Once mixed, add the pectin-sugar blend to your simmering fruit, stirring as you do so. Monitor the mixture’s thickness; it should begin to gel as the pectin activates.
Add the Sugar and Boil Hard
Once the fruit has cooked sufficiently and the pectin has been integrated, it’s time to add the remaining sugar. Bringing the mixture to a rolling boil is essential. This high heat activates the pectin’s gelling properties.
It’s important to note that a “rolling boil” will continue even as you stir and won’t be easily subdued. This ensures that the jam will achieve the desired set once cooled.
Stir in the Butter
As an optional yet effective technique for minimizing foam, stirring in a small amount of butter can help. Foam can make jars look cloudy and incomplete. The butter counteracts this by reducing surface tension.
However, adding butter is up to preference and isn’t essential to the texture or safety of the jam.
Pour into Jars
Once the jam has reached its perfect consistency, carefully ladle or pour it into prepared jars using a funnel to avoid mess and waste. Ensure each jar is filled properly to allow space for sealing.
Sealing should be done promptly with sterilized lids, and the jars should be processed or cooled quickly to preserve freshness.
Storing and Preserving
Refrigerate for Immediate Consumption
If you plan to consume your jam quickly, refrigeration is a straightforward storage method. Simply store the poured and sealed jars in a refrigerator, where they will last several weeks to a couple of months.
This method is optimal for smaller batches or when making enough to share immediately or enjoy in daily use.
Can in a Water Bath for Longer Preservation
To store jams for a longer period, water bath canning is essential. This process involves submerging filled jars in boiling water for a specified time to achieve a vacuum seal that keeps contents safe for up to a year.
Canning extends the longevity of your preserves, allowing ample time for enjoyment through all seasons.
Freeze the Jam
For even longer preservation, jam can also be frozen. Ensure jars are freezer-safe, and remember to leave adequate headspace for expansion. Freezing is convenient and retains the jam’s flavors for several months.
This method is particularly useful if you have limited pantry space or want to save a bountiful harvest tailing a fruitful season.
Equipment for Jam Making
Large Stock Pot
A large stock pot is a fundamental piece of equipment for jam making. It should be deep enough for the fruit, sugar, and other ingredients to cook evenly without risking overflows during boiling.
Efficient heat distribution is essential, so opt for sturdy, heavy-bottomed pots that prevent hot spots from scorching your ingredients.
Canning Jars
Canning jars, available in various sizes, are designed to withstand both heat and pressure, making them ideal for storing jams. Choose the size based on your batch and storage preference.
Ensure that they are paired with matching lids and bands, which facilitate the sealing necessary for shelf-stable storage.
Jar Lifter
A jar lifter is an invaluable tool, especially during the canning process. It allows you to safely remove hot jars from boiling water baths without risking burns or spills.
This tool provides a secure grip on slick, glass surfaces, ensuring both safety and efficiency during processing.
Jar Funnel
Using a jar funnel makes transferring hot jam into the jars clean and precise, preventing spills and wasted product. A wide-mouth funnel compatible with your jar’s mouth is best.
By funneling jam directly into jars, you’ll also reduce the cleanup required post-processing.
Strainer or Food Mill
For those who prefer a smoother texture or want to remove seeds, using a strainer or food mill is an effective method. These instruments can separate unwanted elements from the fruit pulp.
Utilized correctly, they give you control over the texture of the jam, tailoring it to your or your family’s preference.
Wooden Spoon
A wooden spoon is indispensable because it helps you stir the pot without conducting heat too rapidly, preventing burns from metal spoons.
Its sturdy design means you can use the spoon to scrape the pot’s bottom and sides, effectively ensuring even cooking and reducing the likelihood of scorching.
Using Pectin for Jam Making
Pectin is a natural carbohydrate that, when heated with sugar, causes liquidy jams to jell. Its concentration in fruits varies, making commercial pectin a useful tool for consistency.
Various types of pectin are available: from traditional ones requiring sugar to low-sugar and no-sugar options. Your choice can alter both the jam’s sweetness and firmness. Adhering to the package instructions gives optimal results, particularly when working with low-pectin fruits.
Pectin Alternatives
If you prefer to forgo commercial pectin, other methods exist. Cooking the fruit longer can allow natural pectin in fruits to achieve a set, though this may affect the flavor and color.
Incorporating ingredients like apples or lemons — high in natural pectin — during cooking can act as a reliable substitute, reducing the need for processing aids while keeping the jam free from additional additives.
Frequently Asked Questions
Does jam thicken as it cools, and how can I tell that it’s set?
Yes, jam thickens as it cools, and there are a few ways to test its set. The classic plate method involves placing a small dish in the freezer and spooning a small amount of jam onto it. If it wrinkles when you push it with your finger after cooling, it’s set.
Can I reduce the sugar in a jam recipe?
Reducing sugar in jams is possible; however, it can impact the gelling process and preservation qualities. Low-sugar pectin is designed for such variations, providing a good set without compromising safety.
Will a recipe work if I double it for a larger batch?
Doubling a jam recipe can be challenging as larger batches may not cook evenly, affecting the jelling point. It’s often more reliable to make two separate batches in smaller quantities for consistent results.
What if the seal on the lid broke and there’s mold in the jar?
If mold appears in a jar of jam, it signifies that the seal failed. Consuming moldy jam could be harmful, so it’s safest to dispose of it and work on improving your sealing technique for future batches.
How can I use my homemade jam?
Homemade jam is versatile. Apart from spreading it on bread, you can use it as a sauce for meats, filling for pastries, or a sweetener in breakfast dishes. It enriches yogurt and desserts, enhancing a wide range of dishes with its vibrant flavor.
Jam Recipes
Experimentation is key in creating your personalized jam recipe. Start simple with classics such as strawberry, then introduce exciting profiles like peach ginger or raspberry mint. Use traditional or low-sugar recipes based on your taste and dietary needs.
You Might Also Like
If you’ve enjoyed learning about jam making, consider exploring other preservation methods like pickling or drying. Find joy in preserving beyond fruit with vegetables, herbs, and spices, diving into a world full of homecrafted goodness.
Final Thoughts
| Section | Summary |
|---|---|
| Why You’ll Love Making Your Own Jam | Overview of benefits such as flavor preservation, versatility, and shelf life. |
| Difference Between Jams, Jellies, Preserves and Marmalades | Explains the variety among fruit spreads and their textures. |
| Preparing Fruit for Jam | Highlights selecting and preparing fruit for ideal results. |
| Basic Ingredients | Lists the necessary and fundamental ingredients for jam making. |
| Basic Instructions | Detailed steps on the jam-making process for successful results. |
| Storing and Preserving | Covers methods for storing jam to ensure freshness and longevity. |
| Equipment for Jam Making | Outlines essential tools for efficient and safe jam making. |
| Using Pectin for Jam Making | Explains the role of pectin and choices available for assuring a set. |
| Pectin Alternatives | Suggests substitutes and methods for setting jam without commercial pectin. |
| Frequently Asked Questions | Answers to common questions arising in the jam-making process. |
| Jam Recipes | Encourages creativity with ideas for different jam combinations. |
| You Might Also Like | Suggestions for further exploration of preservation techniques. |

