How to Make Homemade Bread
Making homemade bread is a rewarding skill that has been passed down through generations. In this blog post, we will guide you through the process of creating a simple yet delightful homemade bread. From the ingredients you’ll need to the step-by-step directions, we’ll make sure your baking experience is enjoyable and stress-free. We’ll also provide some nutrition facts to help you understand the health benefits of homemade bread and share some mouth-watering photos of Amish White Bread to inspire your baking journey. Whether you’re a seasoned baker or a novice in the kitchen, this guide is designed to help you create bread that’s light, fluffy, and delicious.
Ingredients
Before you begin the baking process, it is essential to gather all the necessary ingredients to ensure a seamless experience. The fundamental components of homemade bread are simple and likely already in your pantry. To get started, you’ll need: 2 cups of warm water, 2/3 cup of white sugar, 1 ½ tablespoons of active dry yeast, 1 ½ teaspoons of salt, 1/4 cup of vegetable oil, and 6 cups of bread flour. These ingredients come together to create a base that is both simple and adaptable to various preferences.
Each ingredient plays a crucial role in the bread-making process. The warm water activates the yeast, which is key to the dough’s rising. Sugar feeds the yeast, encouraging fermentation and enhancing the bread’s flavor. Salt adds taste, while vegetable oil ensures softness and moisture. Lastly, bread flour provides the necessary gluten structure, giving the bread its classic texture. With these ingredients in hand, you are ready to embark on the journey to homemade bread.
Directions
Starting with the basics, dissolve the sugar in the warm water and then stir in the yeast. Allow the mixture to sit for approximately 5-10 minutes until it becomes frothy, confirming the yeast is active. Next, mix in the salt and vegetable oil. Gradually add the bread flour, one cup at a time. Begin kneading the dough on a lightly floured surface until it is smooth and elastic, which should take about 6-8 minutes.
Place the kneaded dough in a greased bowl, cover it with a cloth, and let it rise until it has doubled in size, roughly about 1 hour. Afterward, punch down the dough and divide it into two loaves. Place each loaf into a greased 9×5-inch bread pan. Allow the dough to rise for a second time until it has doubled in size again. Preheat your oven to 350 degrees F (175 degrees C), and bake the loaves for 30 minutes or until the tops are golden brown. Remove from the oven and let them cool before slicing and serving.
Nutrition Facts (per serving)
Understanding the nutritional content of homemade bread can be enlightening, especially for those managing dietary intake. On average, a slice of this bread provides approximately 150 calories, 1.5 grams of fat, 30 grams of carbohydrates, and 3 grams of protein. The bread is low in cholesterol and rich in carbohydrates, making it a fantastic energy source. In moderation, homemade bread can be a wholesome part of a balanced diet.
Because homemade bread does not contain preservatives, it’s a healthier alternative to store-bought versions. It allows for ingredient control, making it possible to adjust sugar or salt content according to dietary needs. Experimenting with whole grain or alternative flours can enhance the nutritional profile, adding fiber and nutrients. Discovering the avenues for customization with homemade bread indeed makes it a versatile addition to any meal.
Photos of Amish White Bread
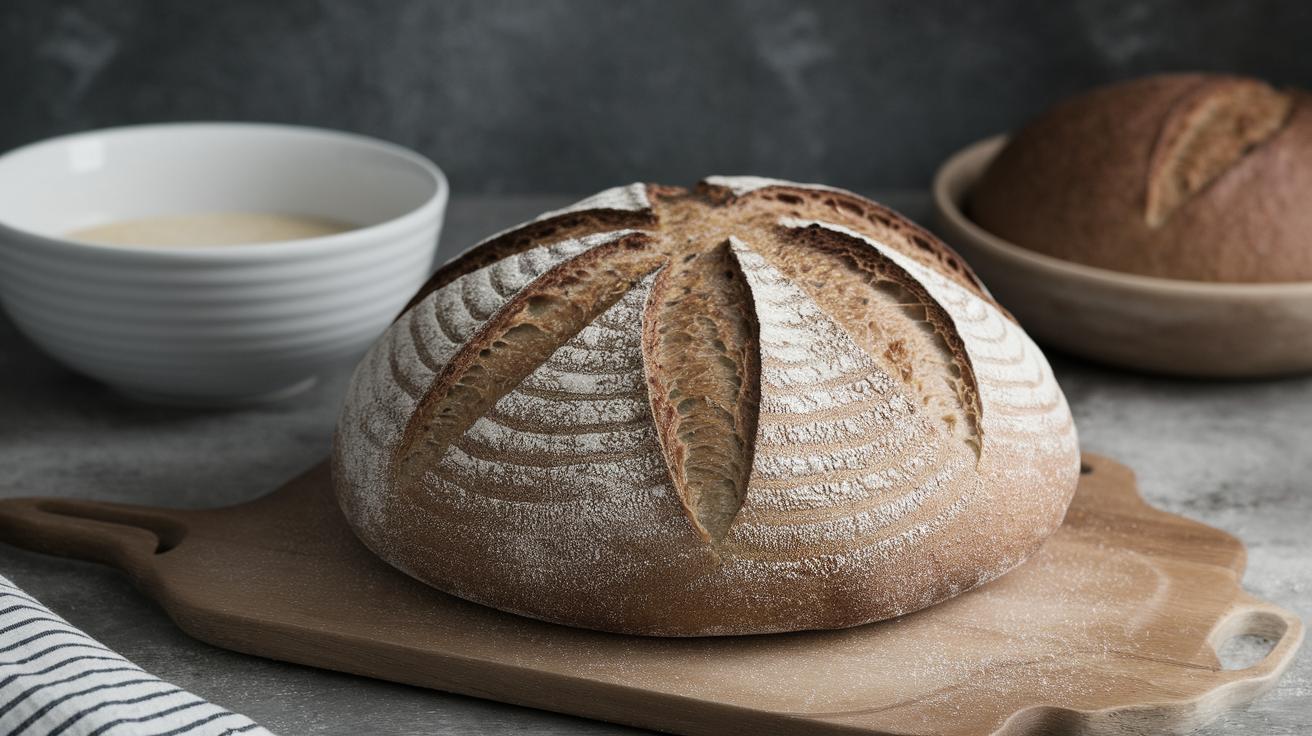
A picture is worth a thousand words, and in the world of baking, it is also a source of great inspiration. Capturing the essence of freshly baked bread can motivate a person to try the recipe themselves. Below are some photos depicting the various stages of making Amish White Bread. From the initial mixing of the dough to the final golden-brown result, each image conveys the beauty and simplicity of homemade bread.
Notice the glorious texture and color variations that emerge as the dough rises and bakes to perfection. The soft, airy interior of the bread paired with its crisp crust is a testament to a successful bake. Whether shared online or saved as personal motivation, these photos are perfect reminders of the satisfying effort put into creating homemade bread. Witnessing the transformation from raw ingredients to a delicious loaf provides a profound sense of accomplishment and joy.
Final Thoughts
| Section | Key Points |
|---|---|
| Ingredients |
|
| Directions |
|
| Nutrition Facts |
|
| Photos |
|
Creating homemade bread is not only a practical skill but also a rewarding one. The simple ingredients and clear steps outlined in this guide make it accessible to anyone willing to try. With practice and passion, you can enjoy freshly baked bread tailored to your tastes.